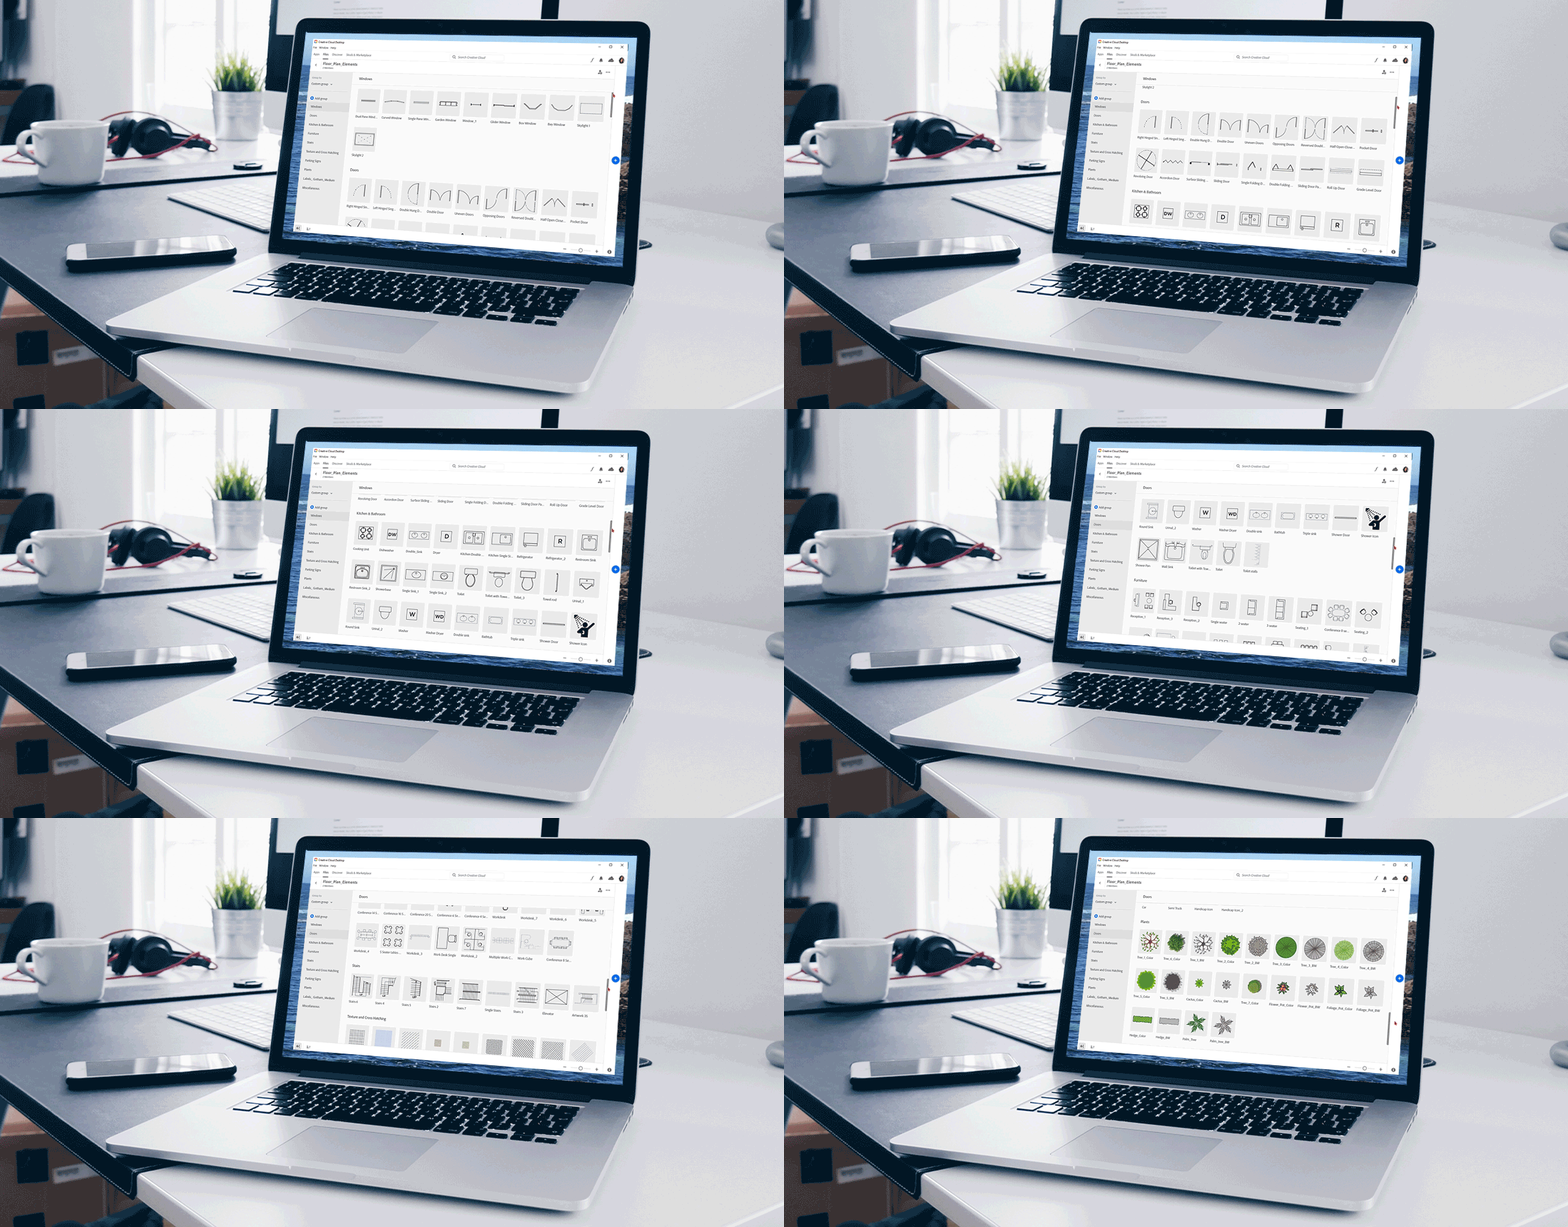
Adobe Creative Cloud Library provides a central repository for publishing your design system, where brand guidelines, colors, fonts, stock images, and other creative elements can be shared and used across web pages, apps, social media posts, brochures, and other digital and print media. This central asset repository lets you manage and organize your media assets, enables collaboration, and can ensure visual consistency across the enterprise.
Are you a designer who,
- still uses Google Drive or Dropbox to share creative assets?
- spends time searching for and often messaging others for creative assets?
- finished working on a marketing piece only to be told that the creative elements used are not the latest versions?
- finds yourself routinely spending more time on non-design tasks?
Then it is time to declutter your digital workspace.
Marie Kondo says that to live the life that you want, you first have to declutter. While she was talking about physical clutter, it applies equally to digital clutter. Organizing your creative assets increases productivity, improves collaboration, and overall team efficiencies. Creative assets can be reused and designers can now actually focus on the design rather than spend time on non-design tasks.
Getting Started
Most marketing teams are set in their ways. Introducing new processes and workflows usually results in pushbacks. Change has to happen organically and does not come easy as familiarity always trumps efficiency. In many cases, familiarity with a process is confused for simplicity of the process.
Marie Kondo’s KonMari method recommends decluttering by categories and not by location. To start out, it is best to start with one category of assets, build it out, share, collaborate, get feedback, iteratively improve, review team adoption, and then scale out to other categories.
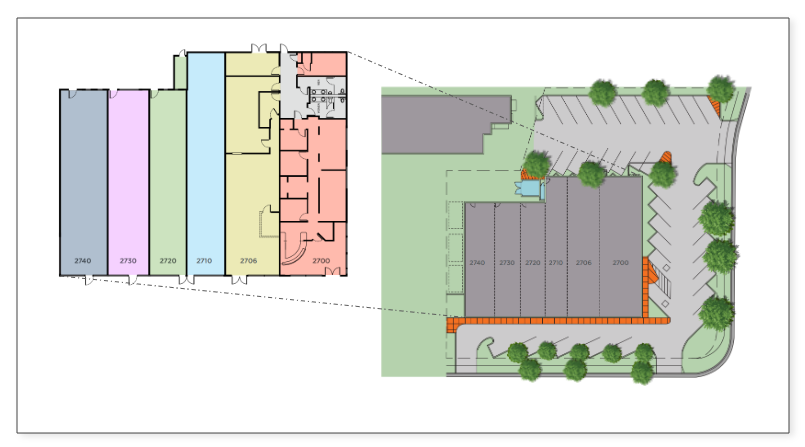
For me, that first category was floor plans. In commercial real-estate marketing, most collaterals include a floor plan and in some cases, a site plan as well. The floor plan allows a potential client to visualize the space, plan out the layout, and see if it fits their needs.
Floor and site plans are typically created in AutoCAD and are saved as DWG files. DWG files provide detailed technical specs and drawings that are useful for architects and planners. For use in marketing collateral, the level of detail has to be reduced to communicate the value of the space to potential clients, who are typically not architects. For spaces where DWG files are unavailable, low-resolution JPEGs or hand-sketched drawings are usually provided. In this case, the floor plan has to be redrawn and details added.
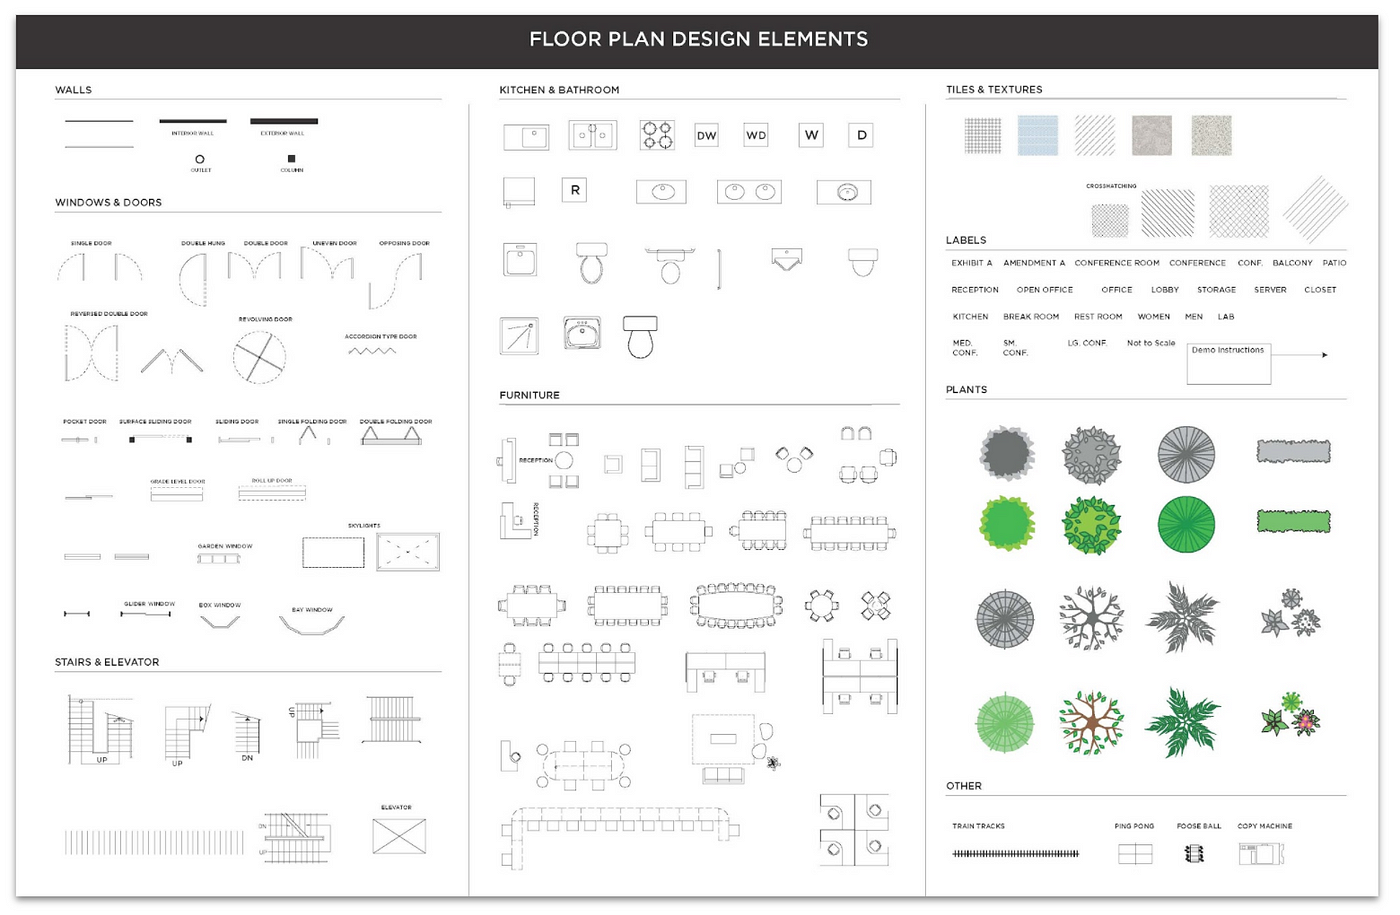
Floor and site plans include a lot of repeated components. These components include walls, doors, windows, stairs and elevators, kitchen, and bathroom fittings. If these components are available as a shared asset library to Adobe Illustrator, they can be reused, and recreating these plans can be simplified and speeded up.
Creating the Library
A floor plan can be broken down into its core elements — walls and partitions, doors, windows, staircases and elevators, kitchen and bathroom elements, etc. In addition, including furniture, floor tiles, and landscape elements can provide additional detail.
I created the elements using Adobe Illustrator and saved them as a PDF. You can create the elements using any Adobe vector graphic tool.

Once you are done creating the assets, you can open the PDF file in Adobe Illustrator, and drag and drop or add each element to the Creative Cloud Library. The library itself can be organized into folders and subfolders and you can associate a name with each element. Organizing the assets into folders and labeling each asset makes it easy to browse and search for a specific asset.
Watch the video below to see how you can create a new Creative Cloud Library.
Using the Library
Once you have created the library, you can share it with others. You can invite other users to try out the library and also collaborate with others by allowing them to edit and add new assets to the library. You can control the level of access that others have to the library.
You can invite other users by first selecting the library and then clicking on the Share button. You can choose whether you want your collaborators to have view-only permissions (Can view) or edit permissions (Can edit). The team members with view-only permissions are able to access and use the shared library. Team members with edit permissions need to have an Adobe account and can edit and add assets to the library.
Once you have access to the Floor Plan Elements library, you can create floor and site plans easily using the assets from the library. Having a single source of truth also enables seamless collaboration while ensuring visual consistency and adherence to brand guidelines across the team.
Watch the video above to see how you can create floor and site plans using the Adobe Creative Cloud Library.

Scaling the Library
Now that you have your first category of assets, you can start organizing and sharing other asset categories and build out your Design System. In addition to creative assets, you can share brand guidelines, including brand colors, fonts, character styles, UI kits, favicons, maskable icons, and logos. Designers will get a single source of truth for creative elements that can be used when creating marketing collateral and also when designing and developing new products and applications.
A Design System can include creative assets, brand colors, fonts, character styles, logos, icons, and stock images.
When you add a graphic asset , the library gives you the option to save the stroke color, fill color, or the graphic as is. Similarly, you can add text elements to the library. For text assets, the library provides the option to save text fill color, character style, paragraph style, or the text as is. When you select an image to add to the library, there is a feature called “Extract from Image”. You can extract color themes, shapes, and find similar fonts from the selected image.
The Adobe stock content can be directly added to the library of your choice from the Adobe stock website. Content from other websites like the Noun Project, Font Awesome, and Unsplash can also be added and used in designs with appropriate attributions.
Adobe Creative Cloud has a set of public libraries in the Creative Cloud App Stock & Marketplace tab. When you add these public libraries to your Creative Cloud libraries, the assets can be viewed and used in any of your Adobe Creative Cloud Apps.
The Design System that you have created on Adobe Creative Cloud Library can be accessed using any Adobe tool and is also available as a plugin to Google Workspace and Microsoft Office tools
Watch the video below to see how to access the Creative Cloud library from MS PowerPoint.
Watch the video below to see how to access the Creative Cloud library from Google Workspace tools.
What is that first category for you? Take that first step, declutter, organize, share, collaborate, validate, scale, and you will find yourself and your team focusing more on design and wasting less time on non-design tasks. That is sure to spark joy in you, your team, and your clients.


